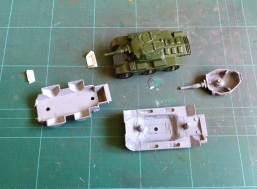
From the sad and battered 1970s toy (above on the left), with its "speedwheels" and pale paintwork, to the proud addition to your collection of early dinkys.
There is a lot of work to get to this stage where the old toy from the bottom of the car boot box can be displayed in your glass cabinet.
Before I can start to change it into a code 3 model, it must be dismantled down to its component parts, then it can be chemically stripped of all paint. Then inspected to ensure that it has no flaws or damage that would spoil the final model. New parts will have to be made, moulds prepared and castings made. All the pieces have to be painted prior to assembly. Then tyres and transfers have to fitted.
For the "speedwheels" chassis as on the Stalwart, I just drill out the retaining rivets and bin the whole plastic chassis, as well as the window piece, leaving just the body. Drilling out the rivets is usually the first step with any restoration or code 3 work, the other initial task is to file the peened ends of the axles so that the wheel and axles can be removed.
To strip off the paint I place it in a bath of a pretty nasty chemical, (Caustic Soda - use with extreme care), which after washing and drying leaves a clean surface. After a good going over with a wire brush, it is ready to repaint or modify.
To strip off the paint I place it in a bath of a pretty nasty chemical, (Caustic Soda - use with extreme care), which after washing and drying leaves a clean surface. After a good going over with a wire brush, it is ready to repaint or modify.

A simple restoration, as on the changing of the 1970s version of the Daimler Armoured car back to the style of the 60s toy, all that is left to do is to drill the axle holes a bit larger to take the new axles, repaint, (including the pressed tin undertray painted satin black), then fit tyres and apply transfers.
Some models though will need extensive rework, new parts fabricated and castings produced so that the model can be repeated.
My models that need new parts, range from the simply modified Scout car, which has a top cover added over the crew compartment, to the Saladin which involved a scratch built turret, and a hull which was a very heavily modified Armoured Personnel Carrier body. This part of the job is down to research, perseverance and ability to turn ideas into miniature reality. This is the difficult bit, making a representation of the vehicle as a toy would have been, and keeping at the back of your mind all the time that the parts will have to be cast, so they can't be too thick or have any shapes that wouldn't release from the mould.

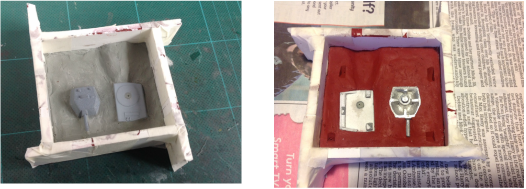
In very simple terms, moulds are heat resistant silicon rubber poured around the masters that you have created, so that you can remove the masters and then fill the space left with molten metal. You then have a perfect replica of the part you have made.
The process of filling the mould with metal can repeated quite a few times, so you build the master shape once, and cast many parts.
That is the theory. in practice it is quite an art, care has to be taken when the master is created that it will cast ok, the mould has to enable the hot metal to flow into all the detail of the master pushing the air our as it does, and the casting process is not a guaranteed success every time. In fact sometimes on complex shapes, several attempts may have to made before an acceptable result is achieved.

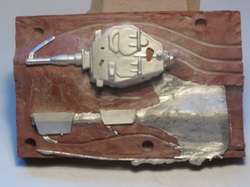
Here is an example of a Saladin turret still in half of it's mould. The metal hasn't flowed properly into all parts of of the mould, giving a casting with holes in the top of the turret. the saving grace is that the metal can be recycled by just popping it into the melting pot and trying again.
The metal plug where the alloy was poured can be seen as can the relief channels to release the air as the mould fills (note the end of the barrel). the two small parts are the closing pieces used to modify either end of the APC chassis. All the trimmed metal is re-used.
The metal plug where the alloy was poured can be seen as can the relief channels to release the air as the mould fills (note the end of the barrel). the two small parts are the closing pieces used to modify either end of the APC chassis. All the trimmed metal is re-used.
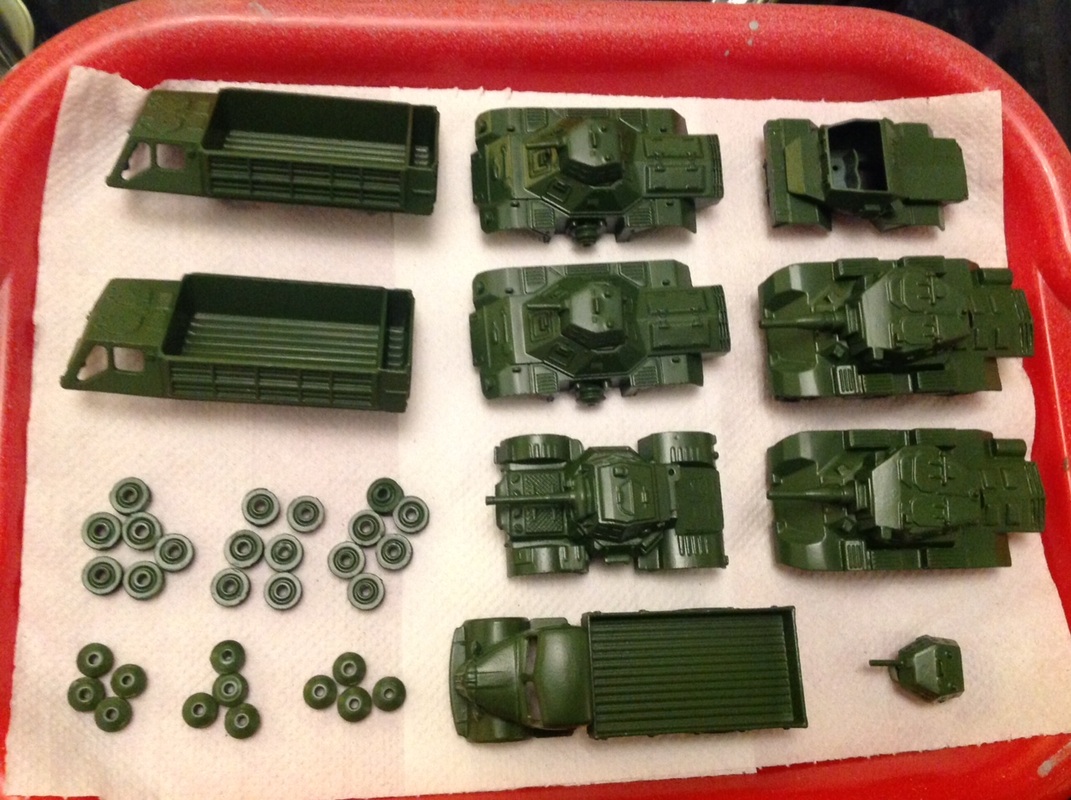
Next comes the exciting bit. All the parts, the re-used or modified bits of second hand Dinkys, and the new castings, have to be "fettled". That is, trimmed, filed and generally prepared to be assembled as the finished model. Another task that requires patience.
Then it is on to painting. I use the modern equivalent of cellulose car paint. It sprays well, it is available in an infinite variety of colours, and has a great shelf life. And it is less expensive than "hobby" paints. The most often asked question is "What colour should I paint my military models?" My answer is "I don't know!". I genuinely can't say what the definitive green is. The Binns road factory were mass producing toys, as opposed to accurate models. The green they used varied enormously, and then the toys aged. Look at of some of your collection, and then look at the underside and in protected corners.
I mix my own from a base green. And I don't claim that is absolutely correct, but I think it gives an appearance very close to a 1960s Dinky.
I always use an etch primer (several coats) which I buy in spray cans, this ensures that the paint sticks to the metal. I then spray the top coats using a very basic airbrush connected to a reasonably sized compressor.
Then comes the very scary bit.
The masterpiece is assembled and epoxied together, the turret rotates properly, the paint is just as you want it. Now you have to put the wheels on an axle, fit them to the model and then beat the end of the axle with a hammer! The opportunity to ruin a good many hours of work and maybe an expensive model, is obvious. Nevertheless, I bash away, and the axle ends get peened over to retain the wheels in true dinky style. If I can carry out this task while the model is only part assembled, I do!
I do sometimes use tubular axles of the correct diameter, and retain the wheels with end pins which mimic the hammered axle ends. This is a lot less stressful!
OK, now I just fit the right size tyres, and then apply the correct Dinky army transfers.
There we have it, another addition to the Dinky Army range!

