Shelvoke Trailer
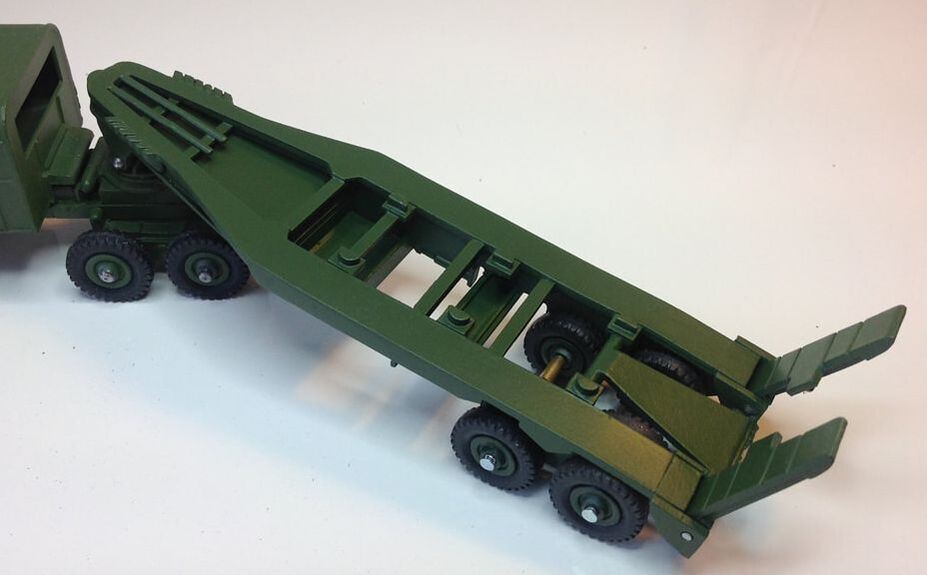
Once the Tank Transporter version of the Scammell Pioneer was built, I knew that I had to build its companion trailer. The big problem for me was that there was no diecast version that I could modify.
I had to put in a lot of effort to researching, finding and measuring photos, and planning the build.
I had to scratch build the trailer using Plasticard, as there was no diecast that came near this shape in the same scale as the tractor. This material is not the most robust, but I worked on the assumption that the masters only had to last long enough to get through the mould making process. I decided to fabricate the main unit in two halves, top and bottom. The top being the deck and crossmembers, the lower making the chassis side rails and boxes.
I had to plan how the ramps would function, and how the trailer would pivot and how it would fit to the turntable on the tractor. The eight wheels would need to be located and free to rotate. I slotted the hole for the forward axle to allow movement on uneven surfaces. All the time I was watching the thicknesses of sections, undercuts, and how the hot metal would flow to all parts of the moulds. I ended up with three moulds, top, bottom and one for both ramps and the pivot.
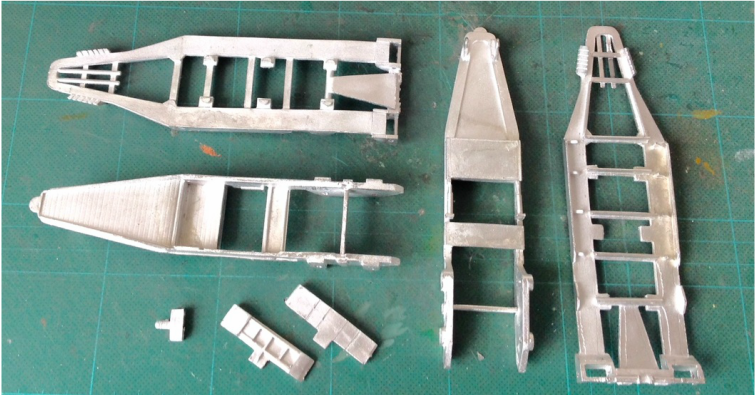
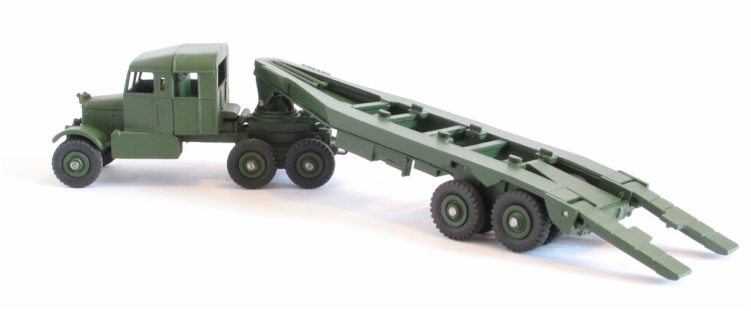
The photo below shows two sets of main castings, one showing the top and the other showing the undrneath, and the ramps and pivot. An extra photo shows the finished set of tractor and trailer with the ramps lowered.


